Let’s setup a reverse proxy that can be used to access any of your internally hosted apps without opening a single port on your router!
Securely access your homelab services from anywhere!
Overview
Self hosting applications is growing in popularity and for services to be useful, we want them to be available both at home and on the go. There are many different ways to make an application that is running on your local network externally accessible, but some can open you up to a high degree of risk. You should always consider if it is truly necessary before putting an application online and use a VPN for high risk applications. Once something is online, it is hackable.
Cloudflared
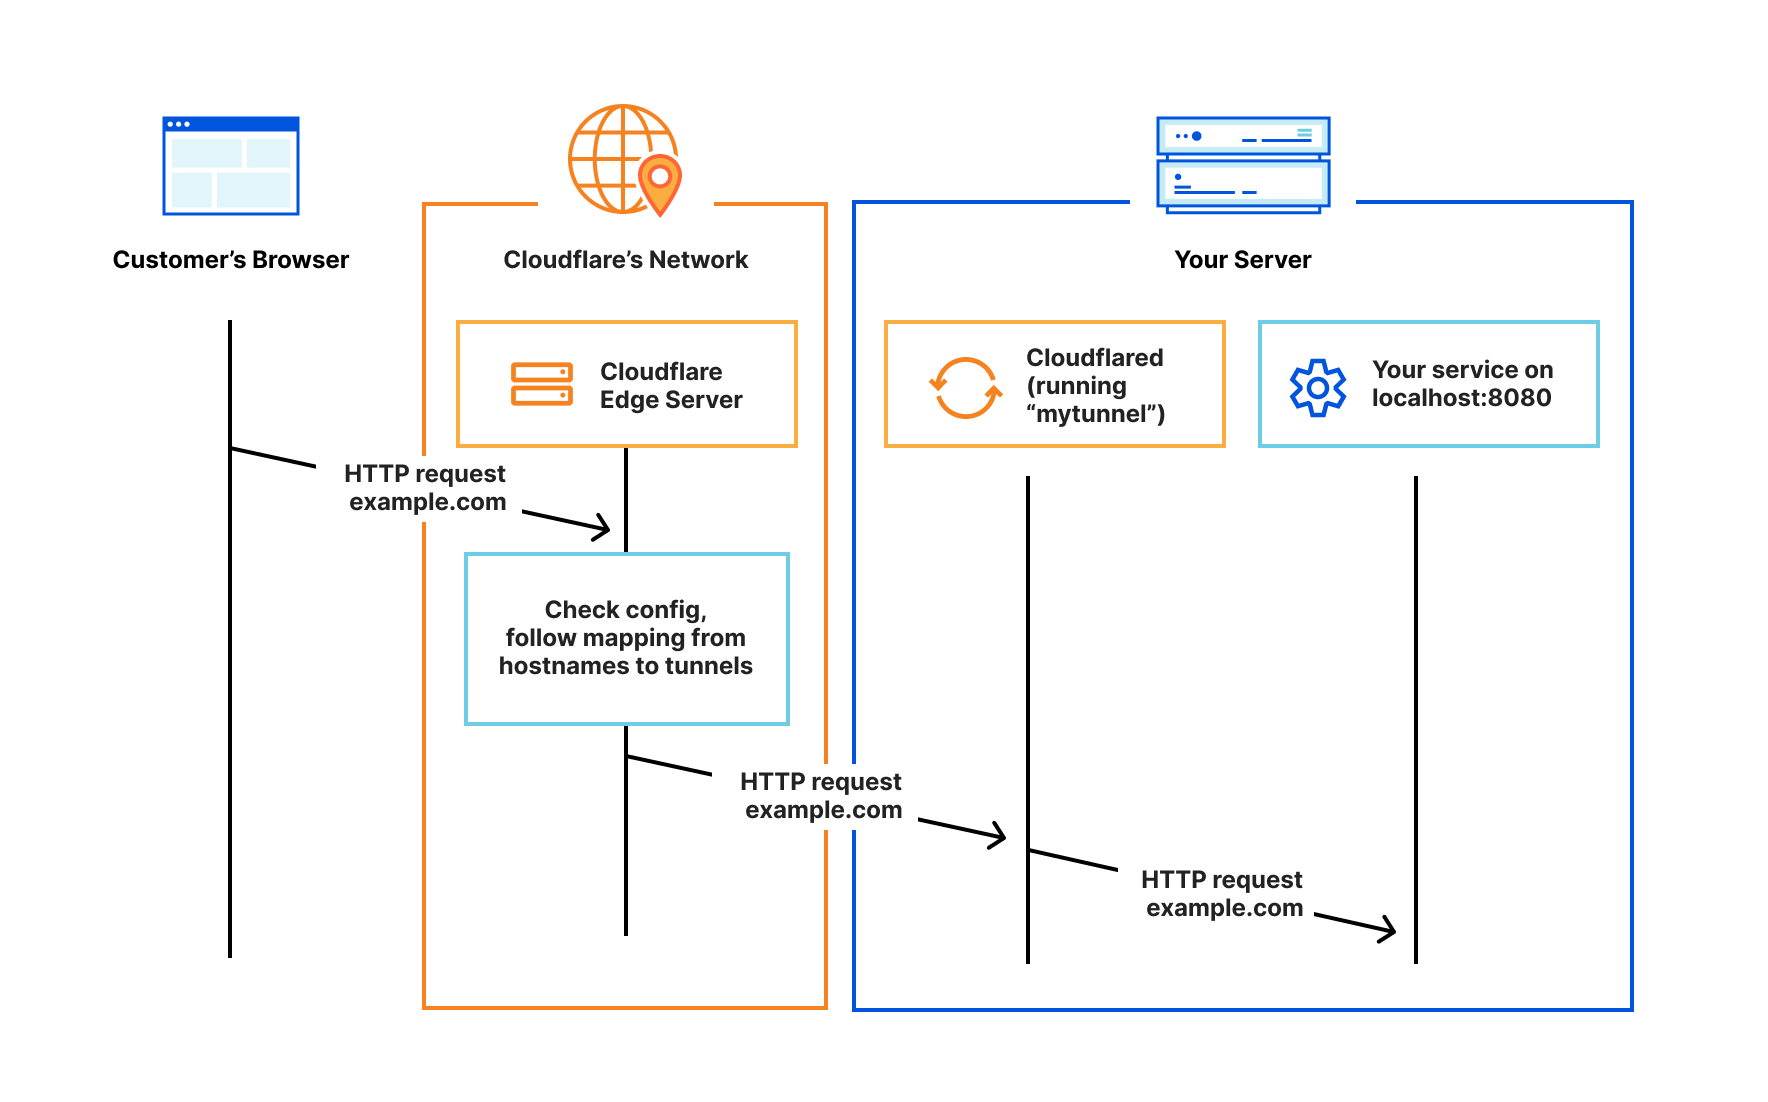
Cloudflared is a secure tunnel application that is available for free from Cloudflare. It can run on many different operating systems, including as a docker container. The application creates a secure tunnel to Cloudflare without opening any ports on your network and can be deployed to any environment to serve as a web application proxy. This provides a high degree of security, because it forces connections to route through Cloudflare which provides DDoS protection as well as serving as a web application firewall or WAF.
Getting started
Create a Cloudflare account
The first thing you will need to do is create a Cloudflare account and register your domain. This can be done here. If you don’t have a domain, you can purchase one from Cloudflare or transfer in your existing one by adding a site:
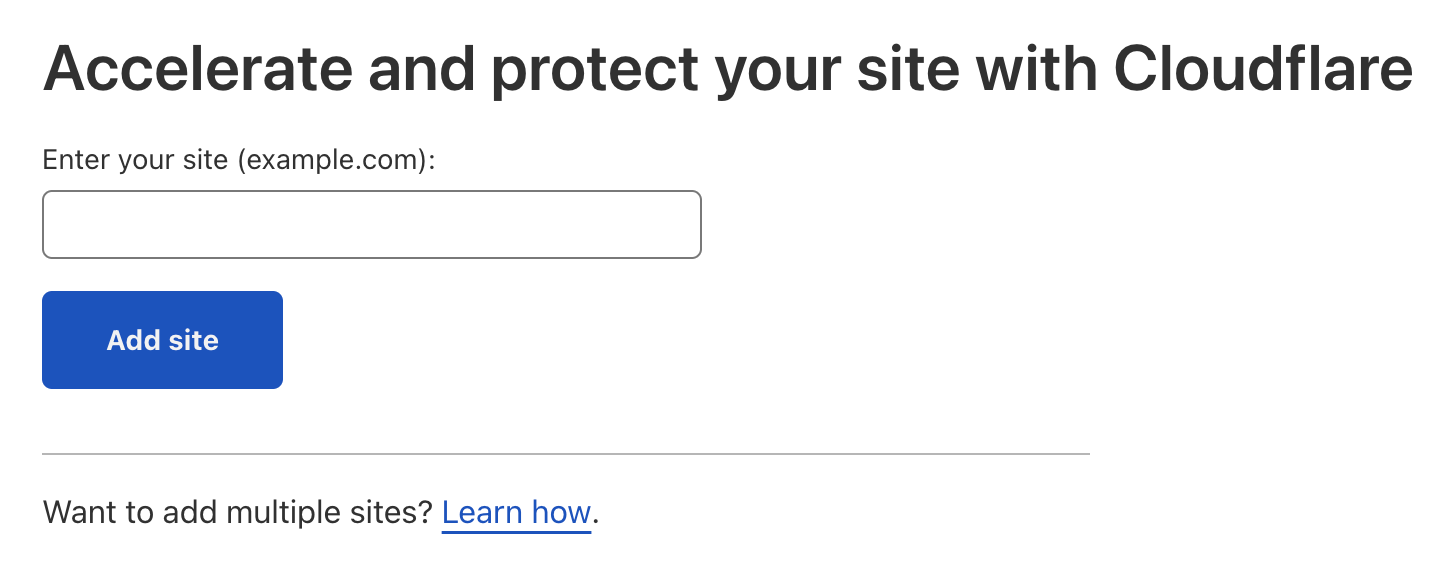
Note that you can use an external registrar, but you must transfer your DNS nameservers over to Cloudflare for the traffic to be properly routed through their systems.
Setting up Cloudflare Access
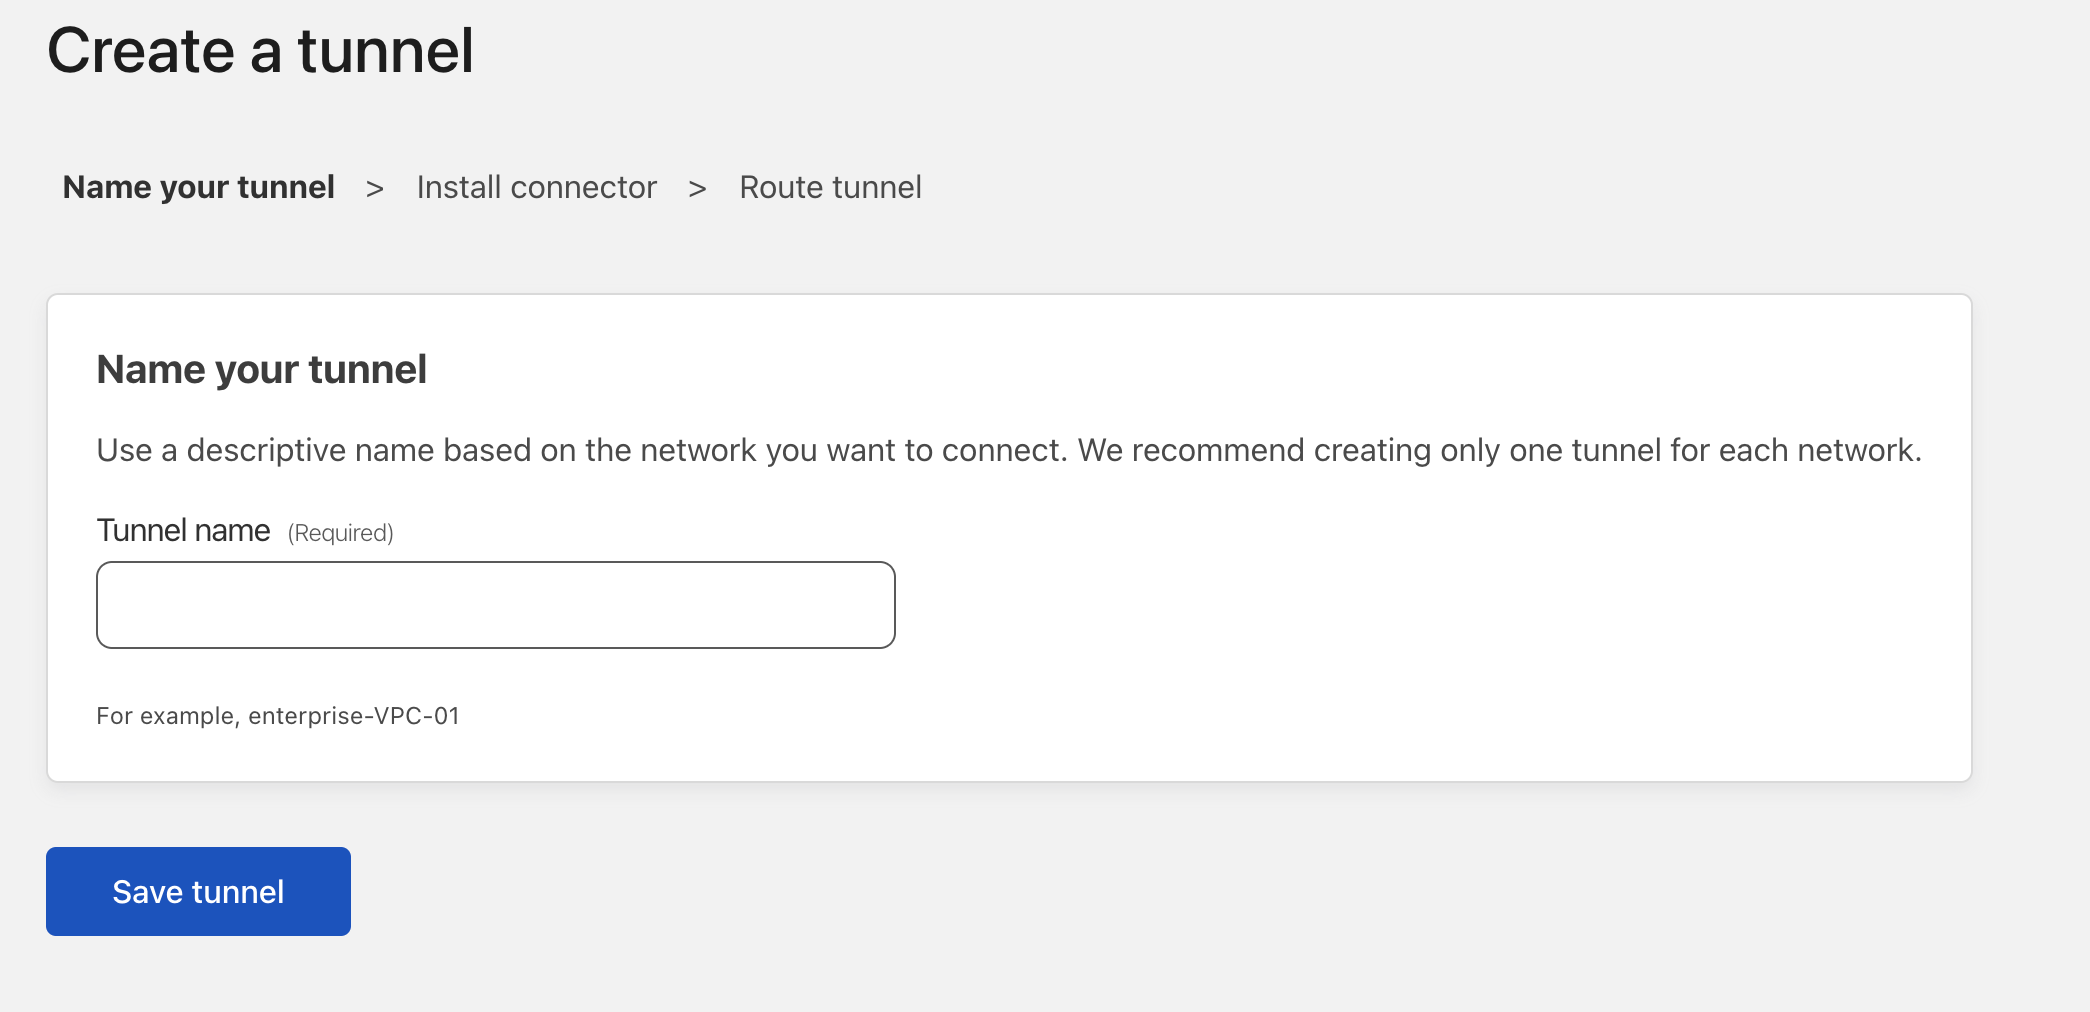
Next we will need to setup Cloudflare access which will hold our application configurations. The free tier should be sufficient for most environments. After you have gotten into the Zero Trust Dashboard, navigate to Access –> Tunnels to create a tunnel.
Deploying the agent
Once you have created a tunnel, the next step is to deploy the cloudflared agent to a network that can access the application locally. The overview tab for the tunnel provides instructions for most operating systems. Below is an example using docker compose:
---
version: "3"
networks:
  frontend:
    proxynet: true
services:
  cloudflared:
    image: cloudflare/cloudflared:latest
    container_name: cloudflared
    restart: unless-stopped
    command: tunnel --no-autoupdate run --token ${CF_TOKEN}
    networks:
      - proxynet
The application authenticates to Cloudflare servers using a token. This token should be considered a secret and protected using an environment variable. In the above example, we use ${CF_TOKEN}. You can find your token in the tunnel overview page. The container has also been added to the proxynet network, which is where the application is hosted.
Add an Application
The next step will be to add the application to your tunnel. This can be done from the public hostnames tab on the tunnel configuration menu. Let’s use Home Assistant running locally over port 8123 as an example:
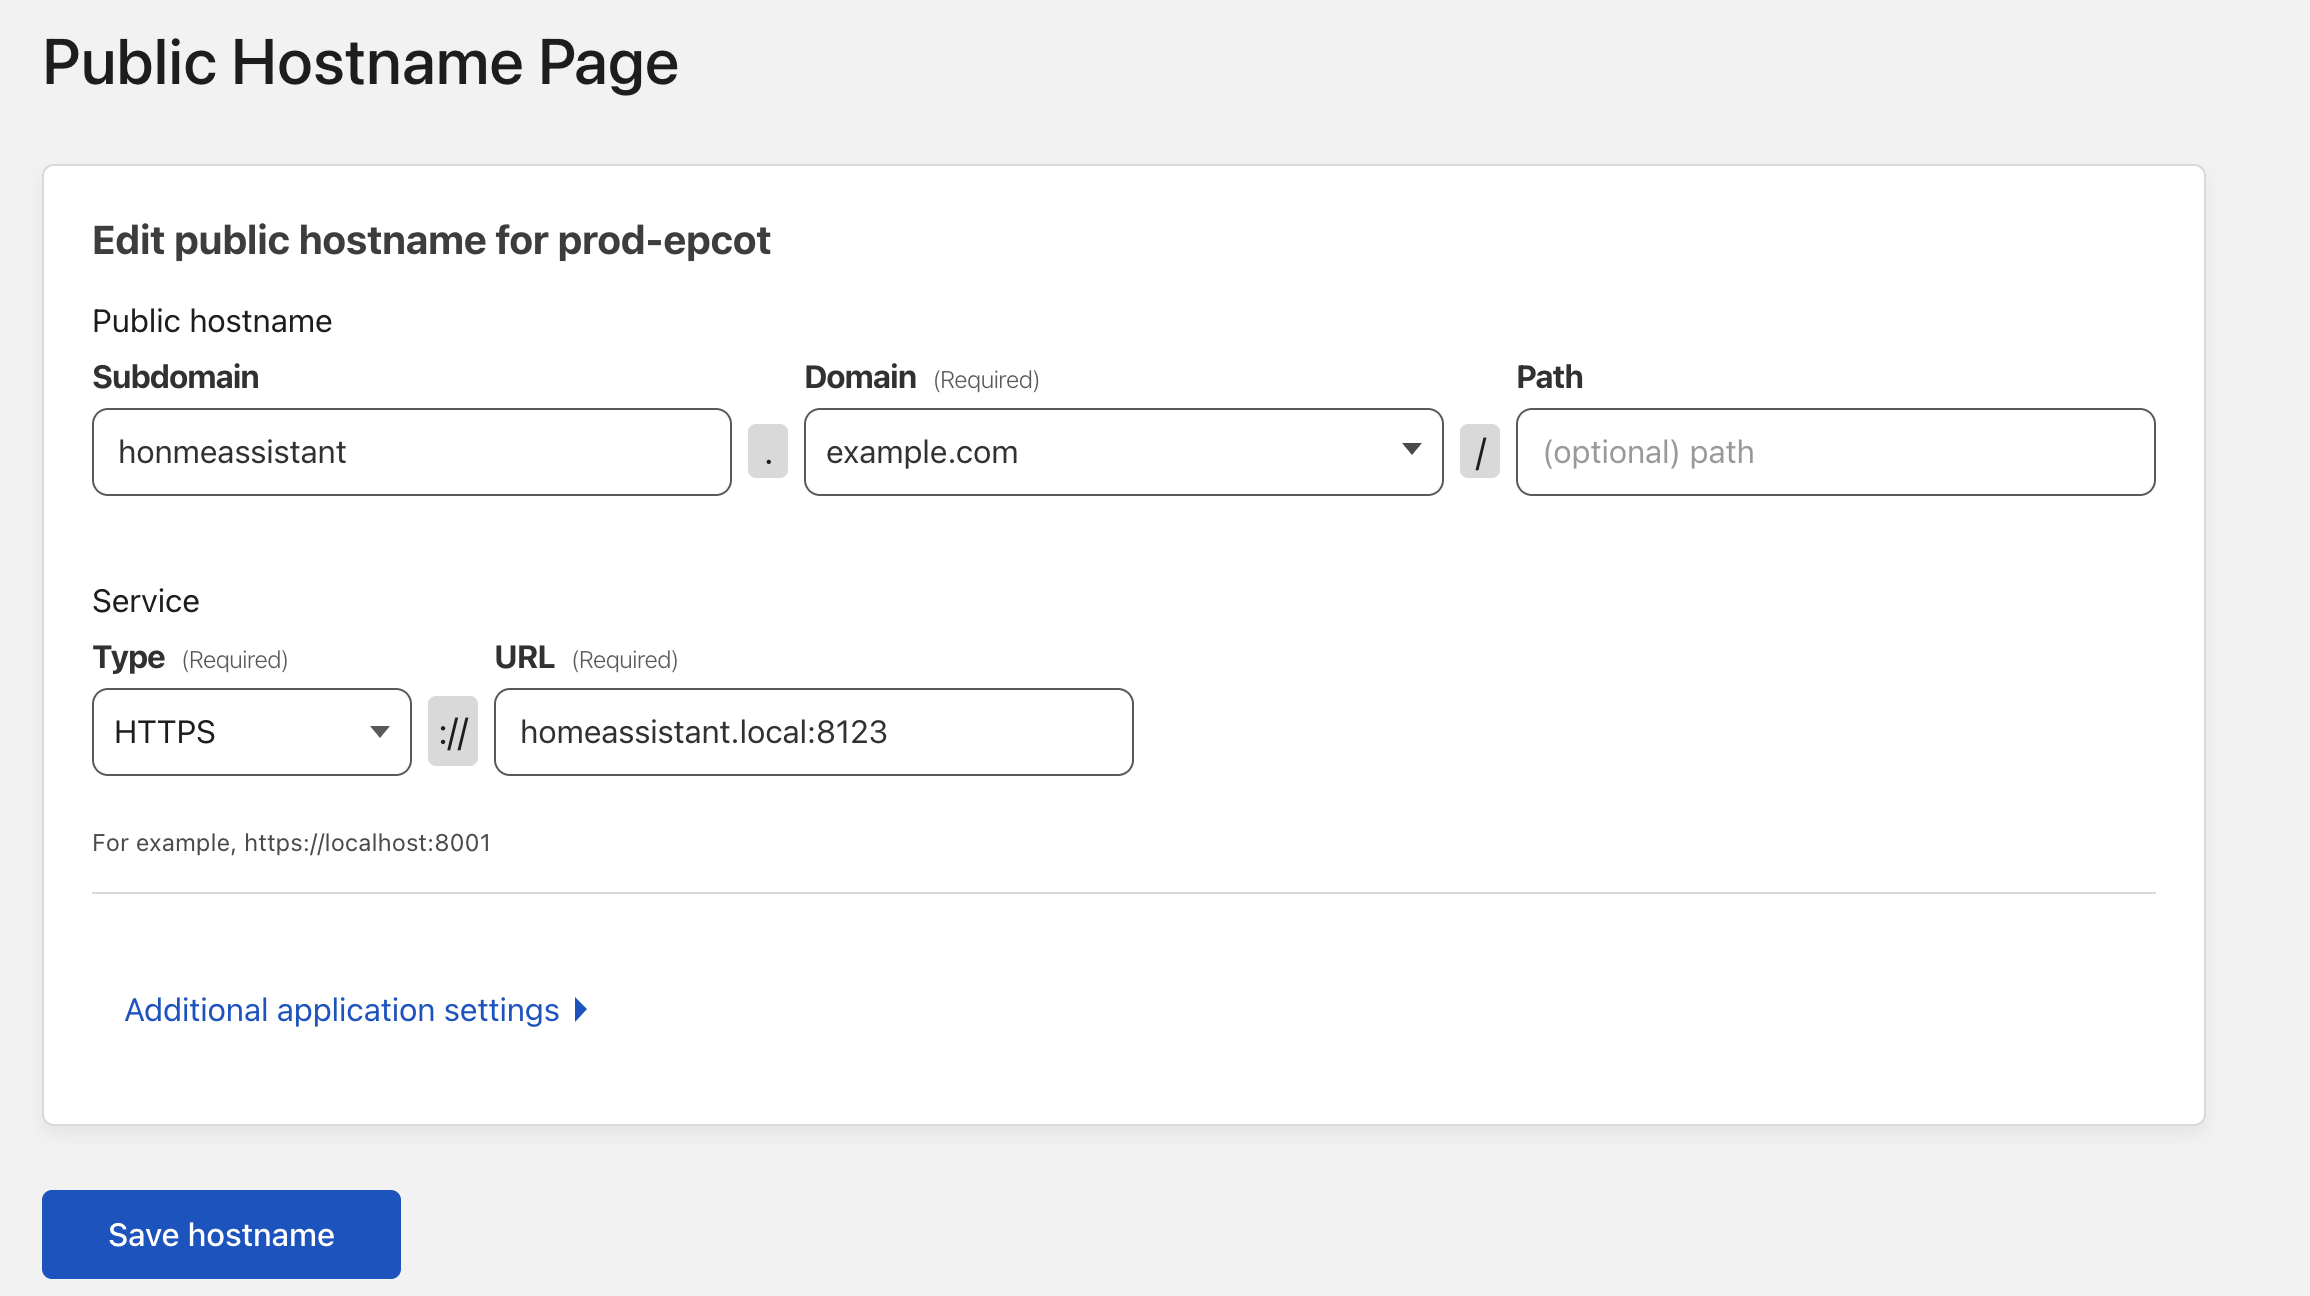
At this point if everything is working, the application should be accessible from external networks.
Setup an Authentication Provider
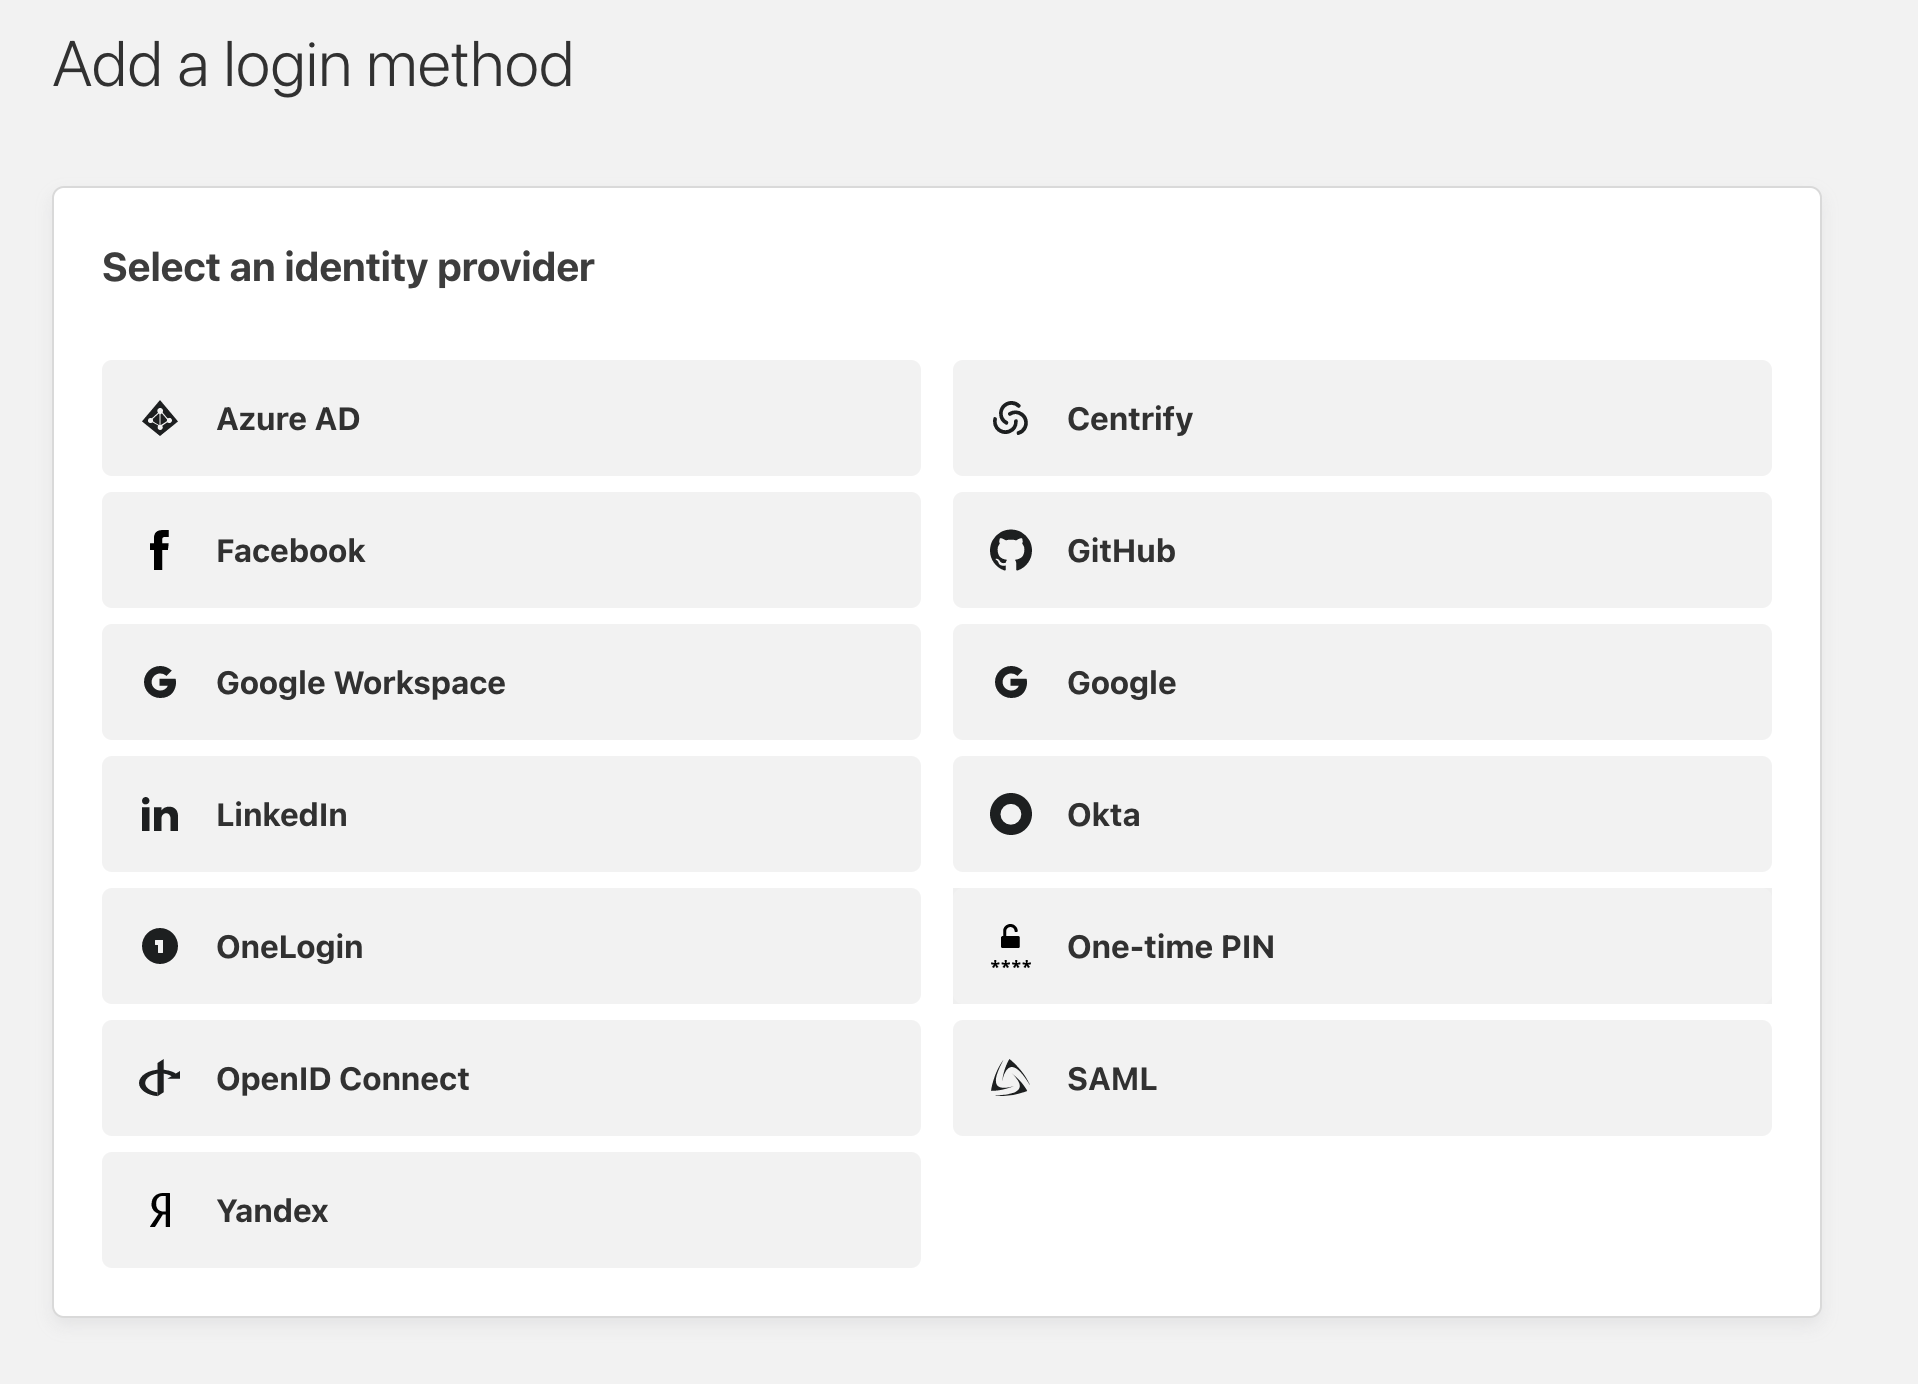
It is a good idea to add an authentication provider, especially one that protects against brute force attacks for any application that is publicly available. To do this navigate to Settings –> Authentication. Cloudflare supports a number of providers:
Setup Access Policies
The final step is to setup some access policies. These help to limit who can access your application, where they can access it, and more! To get started, click on the applications menu on the sidebar and add a self hosted app.
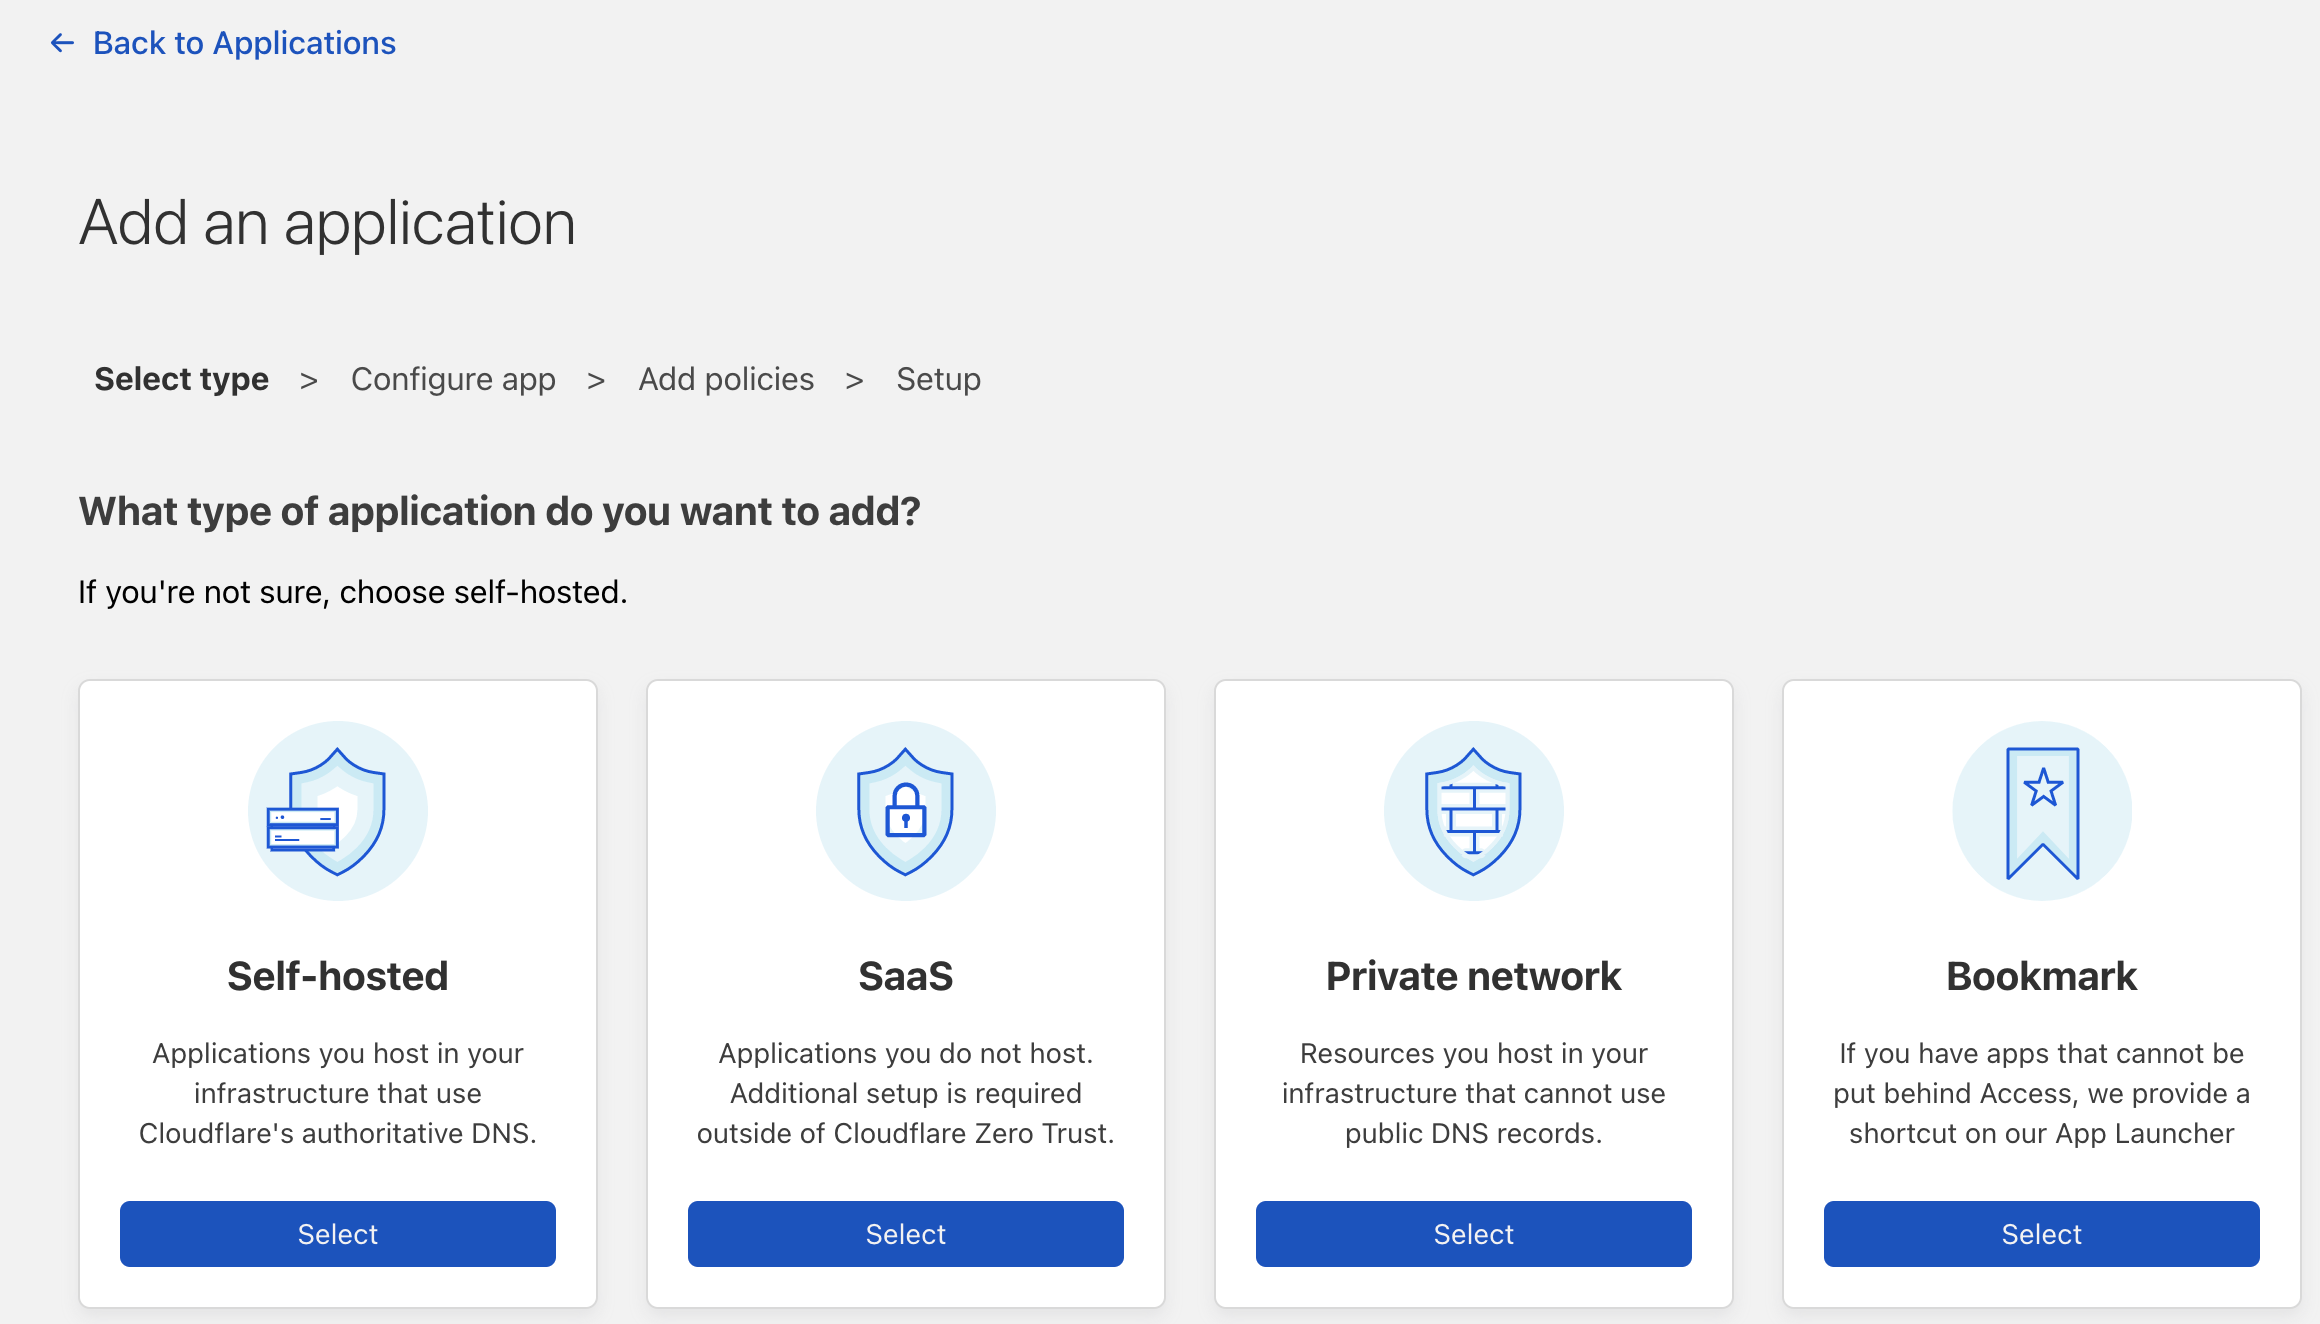
Make sure to select your authentication method that we setup in the previous step before continuing to the policy page. Each app will have its own policy, but policy groups can be created to quickly select between different templates based on how risky the application may be. For detailed information on policies, please see cloudflared docs.
Consider adding rules that:
- Block countries that you likely will not access from
- Use the WARP client to provide device posture checks
- Add MFA
- Block bots or other reputation filters
